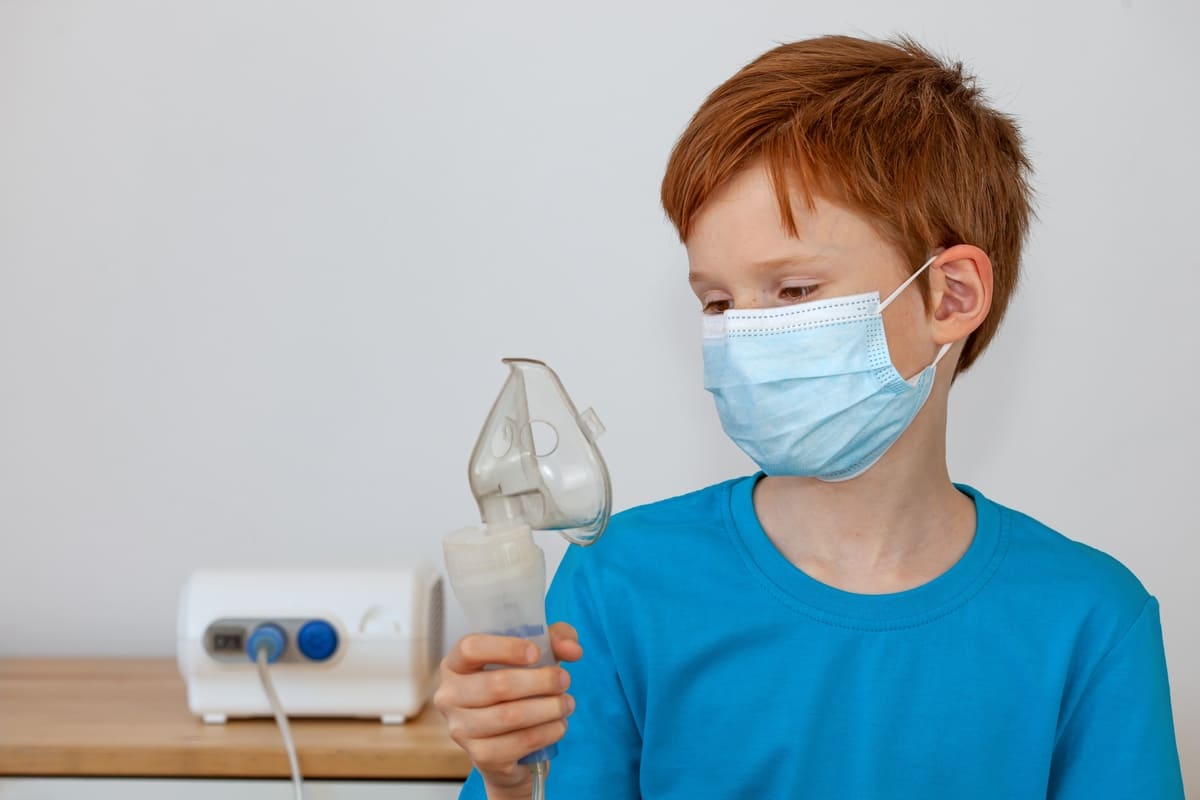
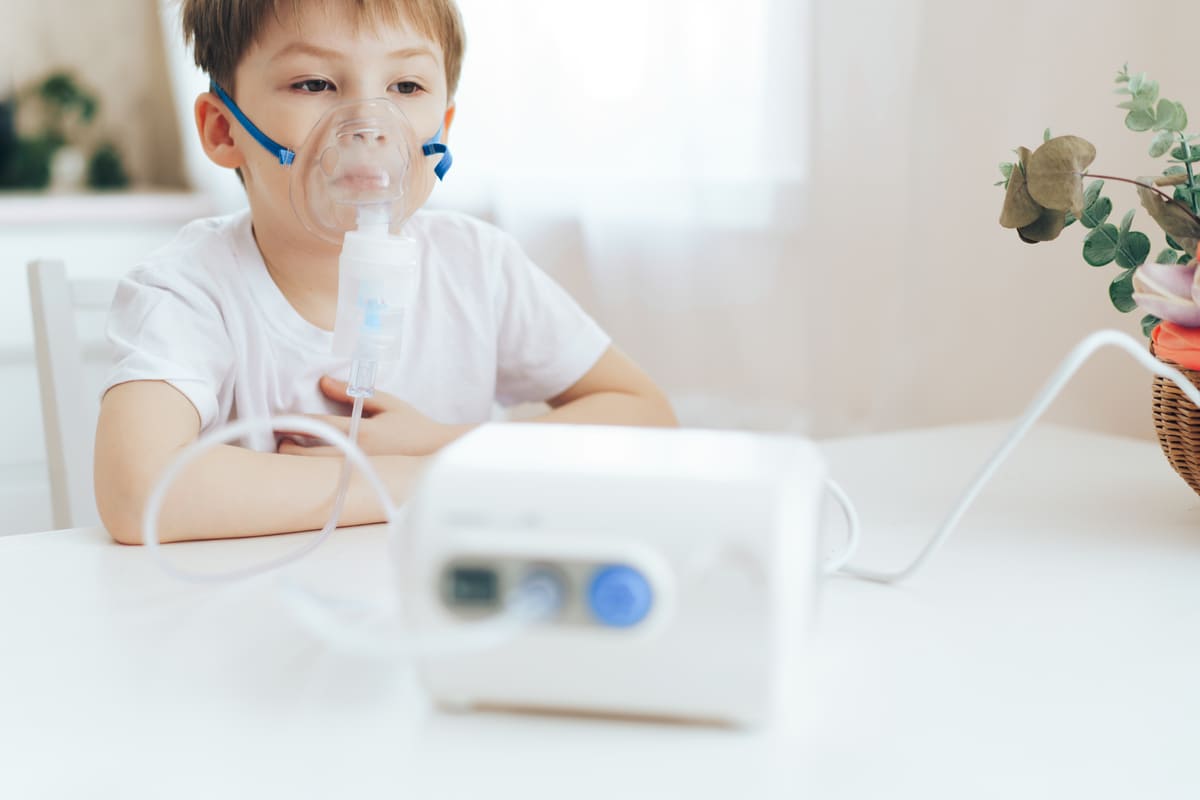
Nebulizers are essential devices for delivering medication to patients with respiratory conditions such as asthma, chronic obstructive pulmonary disease (COPD), and cystic fibrosis. Regular cleaning and maintenance are crucial to ensure the device’s effectiveness and longevity. Improper cleaning can lead to bacterial growth and infections, risking patients’ health. In this guide, we will go through the 10 simple steps to clean your nebulizer properly and highlight tips for proper storage and regular maintenance checks.
Why is it important to clean your nebulizer?
Neglecting to clean and maintain1 your nebulizer can result in a variety of issues, including:
- Effectiveness: Regular cleaning ensures the nebulizer operates optimally, delivering correct medication doses in a breathable mist.
- Infection Prevention: Unclean nebulizers can harbor harmful bacteria or viruses which could lead to respiratory infections. Regular cleaning eliminates these pathogens.
- Durability: Consistent maintenance and cleaning can prolong the lifespan of your nebulizer, preventing frequent replacements.
- Safety: Some medications may react with residue in an unclean nebulizer, potentially causing adverse effects. Regular cleaning reduces this risk.
- Accurate Dosage: Cleaning helps prevent residue build-up that could alter the medication dosage, ensuring health safety.
- Prevent Contamination: If you are sharing your nebulizer with others, regular cleaning can help prevent cross-contamination and the spread of illnesses.
By cleaning and maintaining your nebulizer, you can ensure optimal performance and minimize the risk of potential health hazards.
10 Step-by-Step Guide to Cleaning Your Nebulizer
Nebulizers are medical devices that deliver liquid medication in an aerosolized form, which can then be inhaled directly into the lungs. It is important to keep your nebulizer clean2 and well-maintained to ensure its effectiveness and prevent the spread of bacteria or germs. Here are 10 simple steps to follow for cleaning your nebulizer:
Step 1: Gather Necessary Cleaning Supplies
Gather all the necessary supplies. You’ll need a clean, lint-free towel to help air dry the parts after washing. A mild detergent is required to clean away any residue or grime. Distilled or sterile water is preferred for rinsing, as it’s free of most impurities. Finally, prepare a vinegar solution (1 part distilled white vinegar to 3 parts water). This solution acts as a disinfectant, helping kill bacteria or germs on the nebulizer parts.
Step 2: Disconnect the Nebulizer
Before starting the cleaning process, it’s crucial to disconnect the Nebulizer from any power source. This step is not only for your safety but also to prevent damage to the device’s electrical components. After disconnecting, ensure the device is cool to the touch before proceeding.
Step 3: Disassemble the Parts
Now, you’ll need to disassemble the Nebulizer into its parts carefully. These typically include the mouthpiece, T-piece, medication cup, and connectors or tubes. Disassembling allows for thoroughly cleaning each part, ensuring no area is missed. Always refer to your device’s manual for correct disassembly instructions.
Step 4: Rinse the Parts
Start by rinsing the disassembled parts under warm running water. This step will remove any visible debris or medication residue from the parts. Hold each part under the water for a few seconds, turning them around to rinse all sides. However, be cautious to refrain from rinse the tubing as it’s difficult to dry properly and can become a breeding ground for bacteria.
Step 5: Soak in Vinegar Solution
Immerse the nebulizer parts in the vinegar solution you prepared earlier. Let them soak for about 30 minutes. This soaking process allows the vinegar to disinfect the parts, killing any remaining germs or bacteria. Remember, the tubing should not be soaked due to drying difficulties.
Step 6: Rinse Again
After soaking, give the parts another rinse under warm running water. This second rinse is to wash off the vinegar solution. Remove all traces of vinegar, as it could interfere with the nebulizer’s operation if left on the parts.
Step 7: Air Dry
After rinsing, it’s time to dry the parts. Place them on a clean, lint-free towel in a well-ventilated area and allow them to air dry. This drying method is preferred as it minimizes the risk of contaminating the parts with dust or lint from a cloth or paper towel. Ensure the parts are completely dry before proceeding to the next step to avoid mold or bacterial growth.
Step 8: Reassemble the Nebulizer
Once all parts are completely dry, carefully reassemble the nebulizer. Following the manufacturer’s instructions for this step is important to ensure the device functions properly. Incorrect assembly could lead to ineffective treatment or even damage to the device.
Step 9: Clean the Exterior
Don’t forget about the exterior of your nebulizer machine. Gently wipe down the machine’s surface using a clean, damp cloth. This helps remove any dust or dirt that may have settled on it. After wiping, let it air dry thoroughly before storing or using.
Step 10: Store Properly
Finally, store your clean, dry nebulizer in a clean, dry place until its next use. Covering your nebulizer when not in use can help protect it from dust and bacteria, ensuring it stays clean and ready for your next treatment. A dedicated storage case or bag can be useful for this purpose.

Tips to Consider for Proper Nebulizer Storage
Furthermore, proper storage of nebulizers3 is crucial to ensure their effectiveness and longevity. Here are some tips to consider for proper nebulizer storage.
- Store the nebulizer in a clean, dry place to prevent damage and bacterial contamination.
- Ensure the nebulizer is completely dry before storing it to prevent mold or bacterial growth.
- Avoid storing the nebulizer in high-humidity areas such as bathrooms.
- Replace your nebulizer if it becomes discolored, develops a foul odor, or shows signs of damage.
- Keep the nebulizer in a protective case or bag when not in use to prevent dust and debris from entering.
- Store the nebulizer away from direct sunlight and heat sources to avoid damaging plastic parts or medications.
- Clean and disinfect your nebulizer before storing it for an extended period, such as during seasonal breaks in treatment.
- Consider investing in a nebulizer stand or holder to keep it upright and prevent accidental spills.
- If traveling with your nebulizer, make sure to pack it securely and properly to avoid damage during transport.
- Keep spare parts, such as masks and tubing, in a separate storage container to avoid mix-ups or contamination.
- Consult the manufacturer’s instructions for specific storage recommendations for your nebulizer model.
- Regularly check the expiration dates of medications and replace them as needed to ensure proper treatment.
How can you do regular maintenance checks of your nebulizer?
Regular maintenance checks4 of your nebulizer are essential to ensure it functions properly and provides effective treatment. Here are some steps you can take to conduct regular maintenance checks on your nebulizer:
- Schedule regular inspections: Set a reminder to check your nebulizer weekly or bi-weekly.
- Inspect parts for damage: Look at all components, especially the tubing and mouthpiece, for signs of wear or damage.
- Test functionality: Run the nebulizer with distilled water to ensure it’s producing a fine mist.
- Check cleanliness: Ensure all parts are clean and free of residue.
- Validate assembly: Make sure the nebulizer is correctly assembled according to the manufacturer’s instructions.
Key Takeaways!
In summary, maintaining a clean nebulizer is crucial for its effectiveness and your respiratory health. The 10 steps in this guide provide easy-to-follow instructions for properly cleaning and storing your nebulizer. Remember to schedule regular maintenance checks to ensure your nebulizer continues to function correctly. Your nebulizer can provide reliable and effective treatment for your respiratory condition with proper care. So, make sure to follow these steps and consult your healthcare provider if you have any questions or concerns about cleaning and maintenance of your nebulizer.
Citations:
- 1: Importance of cleaning a nebulizer- https://www.lung.org/lung-health-diseases/lung-disease-lookup/copd/resource-library/how-to-clean-a-nebulizer#:~:text=Many%20people%20with%20chronic%20lung%20diseases%2C%20such%20as%20COPD%20or,keep%20your%20device%20working%20properly.
- 2: Step-by-step guide to clean nebulizer – https://www.wikihow.com/Clean-a-Nebulizer
- 3: Proper nebulizer storage – https://www.usa.philips.com/healthcare/education-resources/publications/sleep-and-respiratory-newsletter/articles/enews-nebulizer-cleaning-and-storing
- 4: Regular maintenance checks for nebulizers- https://bmet.ewh.org/bitstream/handle/20.500.12091/198/Nebulizer%20Preventative%20Maintenance.pdf?sequence=1&isAllowed=y


![Home Renovation Guide [2025]](/app/uploads/2021/04/design-hacks-1-378x300.jpg)
